How do I use software from a PPA?
To start installing and using software from a Personal Package Archive, you first need to tell Ubuntu where to find the PPA.
Important: The contents of Personal Package Archives are not checked or monitored. You install software from them at your own risk.
If you're using the most recent version of Ubuntu (or any version from Ubuntu 9.10 onwards), you can add a PPA to your system with a single line in your terminal.
Step 1: On the PPA's overview page, look for the heading that reads Adding this PPA to your system. Make a note of the PPA's location, which looks like:
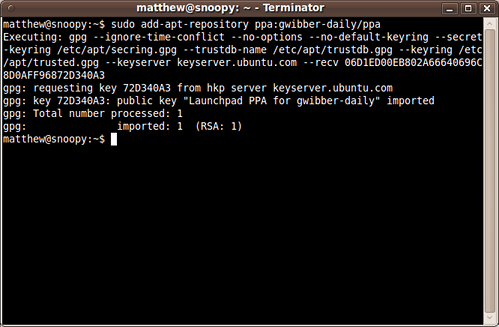
Step 2: Open a terminal and enter:
sudo add-apt-repository ppa:user/ppa-name
Replace ppa:user/ppa-name with the PPA's location that you noted above.

Your system will now fetch the PPA's key. This enables your Ubuntu system to verify that the packages in the PPA have not been interfered with since they were built.
Step 3: Now, as a one-off, you should tell your system to pull down the latest list of software from each archive it knows about, including the PPA you just added:
sudo apt-get update
Now you're ready to start installing software from the PPA!
Read more about Personal Package Archives in our help wiki.